


If you are a new user of Gel Nail Polish, please don’t be disheartened if your first few manicures don’t last as long as expected. There are many tips and tricks to applying Gel Nail Polish that make the difference between a long-lasting application and an application that doesn’t last long enough (i.e. chips easily or peels). Often, new users of Gel Nail Polish make small mistakes during the application process that cause premature chipping or peeling. Once you've mastered your Gel Polish application, you'll enjoy flawless, long-lasting manicures time and time again. Practice really does make perfect!
Please be patient, read our Application Guide carefully, and take note of our tips and tricks.
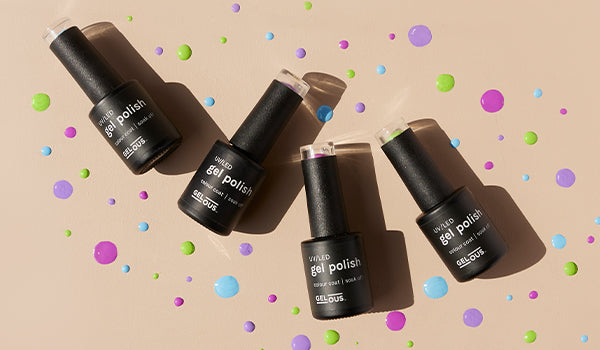
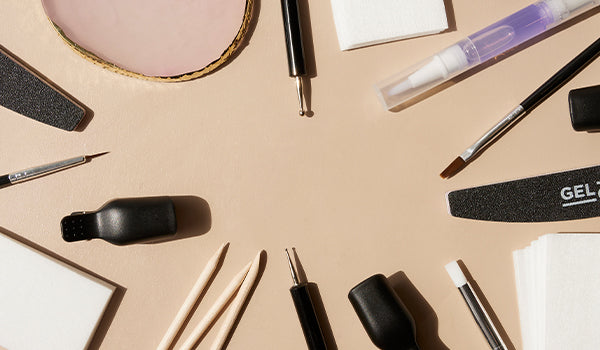
- Always use Gelous Base Coat, Colour Coat, Top Coat, and Gel Nail Lamp together. Our Gel Nail Polish and UV/LED Gel Nail Lamp are specially formulated to be fully compatible, with the lamp emitting at 365+405nm to ensure a safe and effective cure. While this dual-wavelength setup is common, we strongly advise against mixing brands—such as using other polishes with our lamp or vice versa—as they may not be properly compatible. Incompatibility can result in under-curing, which may lead to poor wear or even cause damage to your nails or skin.
- Ensure your nails are strong enough for a gel manicure. If your nails are too weak, they can bend and cause the Gel Nail Polish to pull away from the nail. Nourish your nails with products such as Cuticle Oil, Moisturiser and Nail Defense to improve their strength, and consider adding a Builder Gel into your manicure routine.
- Nail prep is very important and will directly influence the longevity of your mani or pedi. Before applying your Gel Nail Polish, gently buff the entire surface of each nail. Make sure to buff in one direction and remember, you are trying to rough up your nails not make them smooth, so the whole nail should appear dull from the buffing (not shiny). You need to be very thorough with the buffing, paying particular attention to the sides of the nails and around the cuticle, as this is where lifting may occur if not buffed correctly.
- Make sure to clean your nails thoroughly after buffing, as any residual buffing dust, oil or other contaminants will reduce adhesion of the gel and affect the longevity. To clean, simply apply Nail Polish Remover to a Lint Free Wipe and thoroughly clean the surface of your nails, including the area under your nails and around the cuticles.
- Use Nail Primer before your Base Coat to prime and dehydrate the nails.
- Don’t apply your coats of Gel Nail Polish too thick and make sure they are an even thickness. Pay attention to the cuticles and the sides, as this is where Gel Polish can get thicker if you have too much Gel Nail Polish on the brush. To achieve a thin application, remove excess Gel Nail Polish from the brush by circling it around the inside of the bottle neck, pressing it off.
- Cap every coat of Gel Nail Polish by running the brush horizontally over the free edge of your nail. View capping diagram here. If you have shorter nails, start each coat by using a Nail Art Brush or the tip of your bottle brush to cap the free edge.
- When applying, start in the middle of the nail then ‘push’ the Gel Nail Polish gently towards the cuticle without it touching. It is important to leave a thin gap between the edge of the Gel Nail Polish and your cuticle when applying. If the Gel Nail Polish is applied to the cuticle, it can separate and lift as your nail plate grows. Aim to avoid getting any Gel Nail Polish on your skin or cuticle, however if you do, remove it with an Orangewood Cuticle Stick, Nail Art Brush or Lint Free Wipe before curing.
- In terms of aftercare, avoid washing dishes or using cleaning products without gloves, use Cuticle Oil regularly to help your nails looking fresh for longer, and if you get a snag, file this down so it does not catch and cause further damage.


