


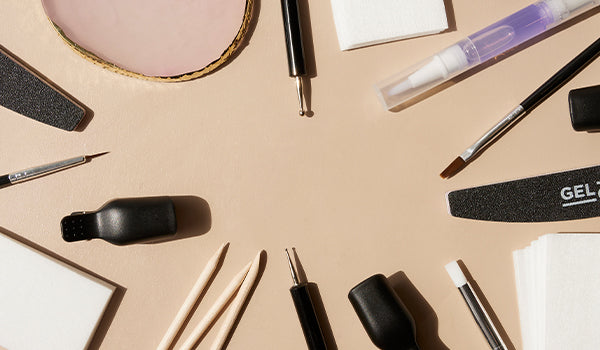


Summer sandals or cosy socks, there’s nothing like the feeling of a fresh pedicure. The good news? You can get professional-looking gel pedicures right at home with just a few tips and the right tools. If you're looking to save time and money while still pulling off perfectly polished pedis, these tips are for you.

Tip 1
Work in a Well-Lit Space
Before you start, make sure you’re in a well-lit area. Good lighting is crucial, it helps you apply polish more accurately, and ensures you love the shade before curing. Whether you’re using natural light, a good desk lamp or overhead light, bright lighting helps you avoid mistakes and see every detail clearly.
One thing to keep in mind, though: gel polish cures with UV light. So, while proper lighting is essential, keep away from sunlight to prevent premature curing, both on your brush and nails.
Tip 2
Start with Your Big Toe
Your big toe is the most visible and the largest, making it the perfect starting point. Begin with your big toe to get a feel for the polish application. Once you’re comfortable with the technique on the larger surface area, you’ll feel more confident moving on to the smaller toes.
Tip 3
Use Pedicure Toe Separators
Pedicure Toe Separators are your best friend when painting gel pedicures. These classic favourites keep your toes spaced out, preventing any polish transfer between them. A staple in pedicure kits for years, they not only help with accuracy, but they make the whole process easier. Undeniable must-haves for neat, smudge-free pedis.
Tip 4
Don’t Overload Your Brush
It’s easy to overload your brush especially when working with smaller nails, but this can lead to thick, uneven layers. Remove excess polish from the brush by circling it around the inside of the bottle neck and press it off. This will help deliver smooth, thin coats on each toenail. Less is definitely more when it comes to gel polish application!
Tip 5
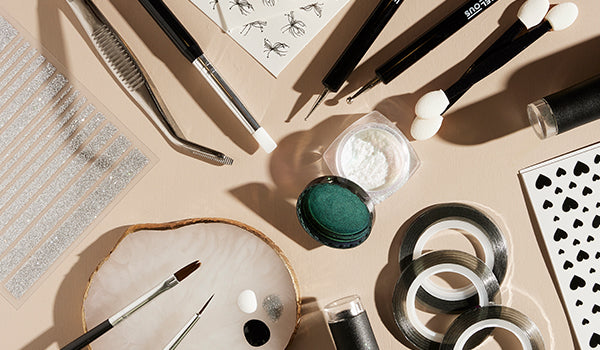
Use a Nail Art Brush for Smaller Toes
Smaller toenails can be tricky, but applying with a Nail Art Brush can make all the difference. These smaller tools allow for more precise application, especially around the cuticles and edges of your nails, helping you avoid smudges and get those clean lines you’re after.
Tip 6
Take Your Time
Rushing through the pedicure process can lead to smudges, and thick, uneven coverage, especially with smaller toes. Take your time with each toe and each layer of polish. Applying carefully will help ensure a smooth, flawless finish. Slow and steady really does win this race!
Tip 7
Clean Up Mistakes Before Curing
Mistakes happen! If you get polish on your skin, use a Nail Art Brush dipped in Nail Polish Remover or the much-loved Gelous Nail Polish Remover Pen to quickly clean it up before curing. Taking care of it means no messy edges, plus it helps avoid product reactions and allergies.
Tip 8
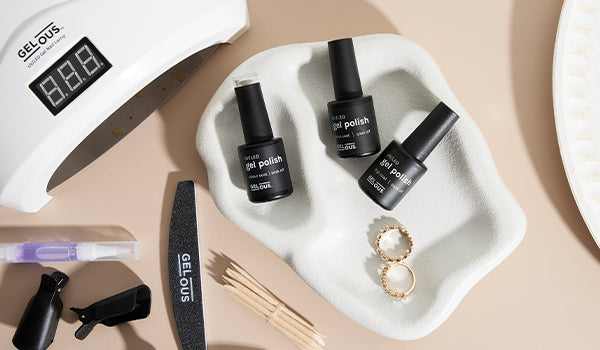
Remove the Base Plate for Extra Curing Space
When using the Gelous Gel Nail Lamp, don’t forget to remove the base plate! Take it off before your pedicure, and place the lamp right over your foot for extra space and comfort when curing. This gives your toes plenty of room and helps you avoid awkward angles while the lamp does its job.


