


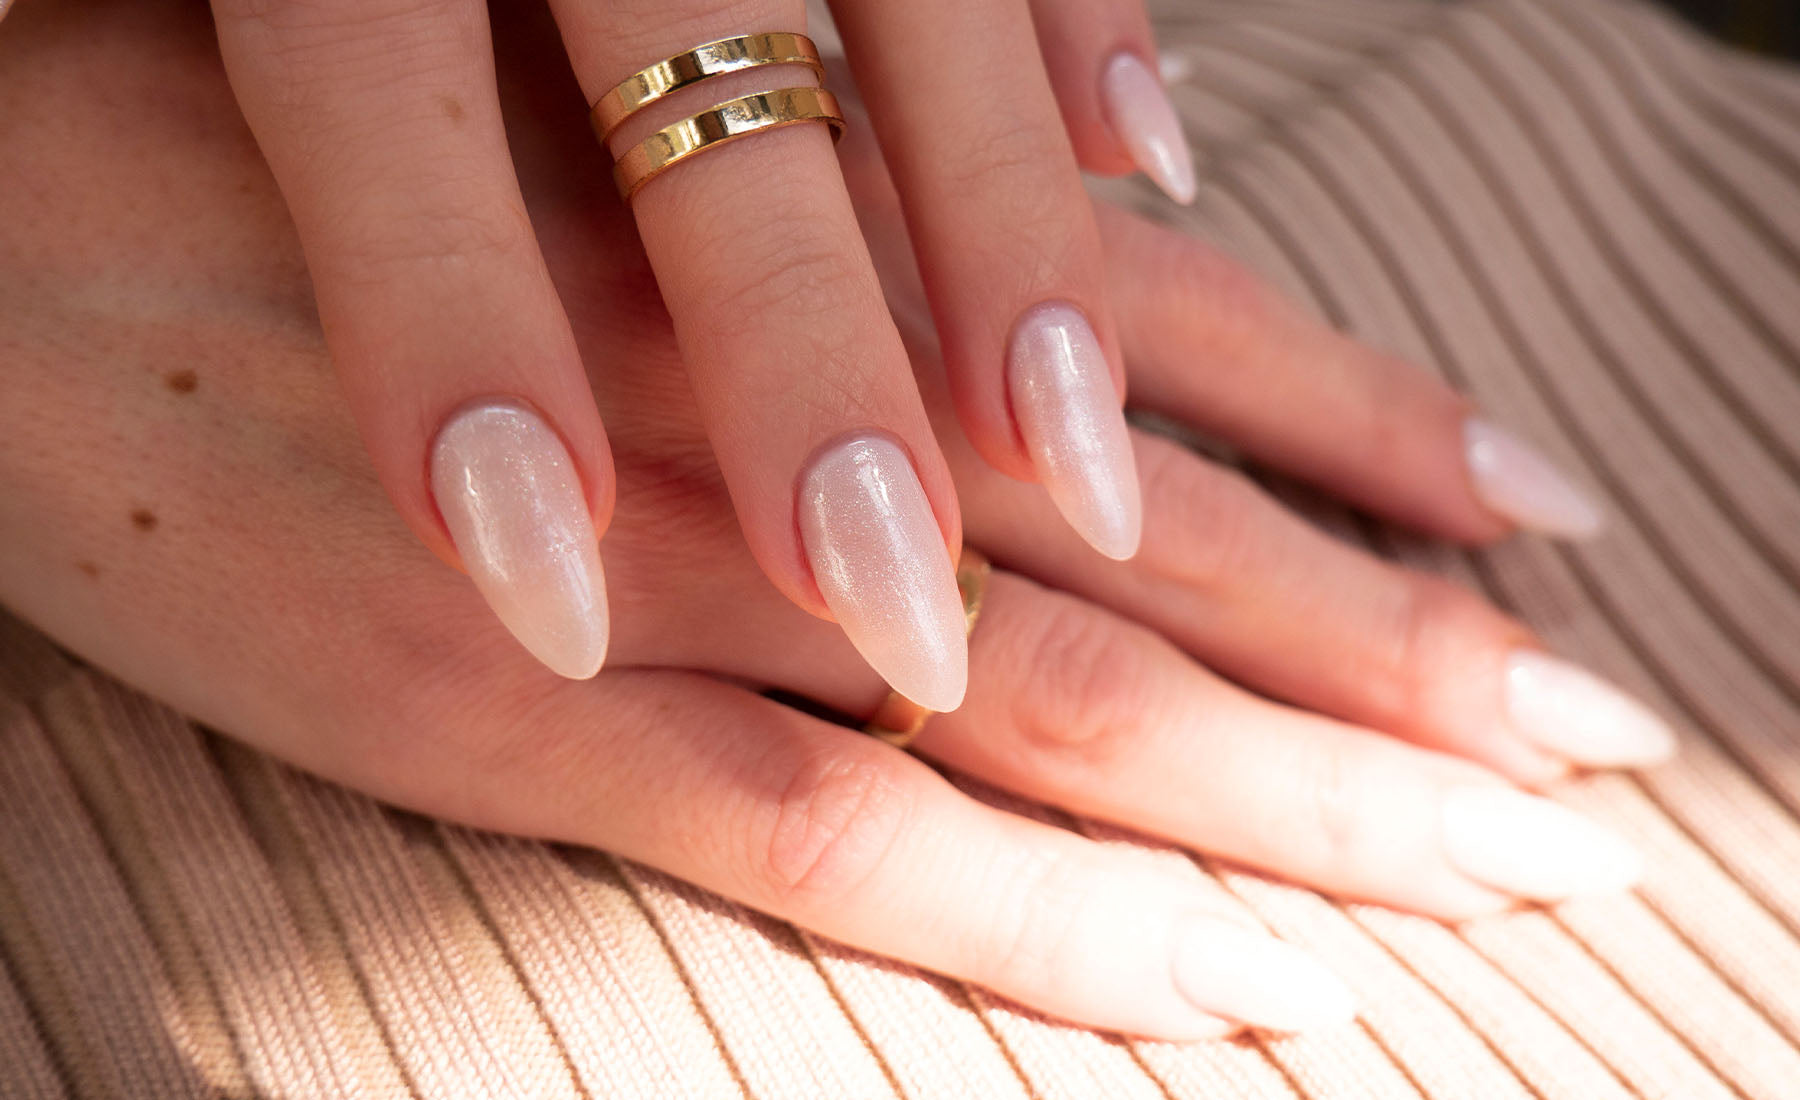
Hailey Bieber’s ‘Glazed Donut’ gel nails have created quite the buzz, and it’s easy to see why. So much so, this nail trend shows no signs of slowing down, and why would it? The result is absolutely gorgeous and surprisingly easy to mimic with the right products.
We’ve been working hard at Gelous to find the perfect combination to recreate this iconic look and we’ve found two - one using solely Gel Nail Polish, and another that incorporates Chrome Powder for an extra sweet finish. Read on to learn how you can make this chic mani yours!
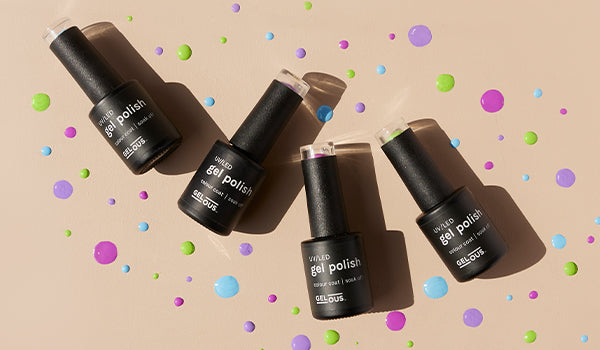
How to Create Glazed Donut Nails Using Gel Nail Polish
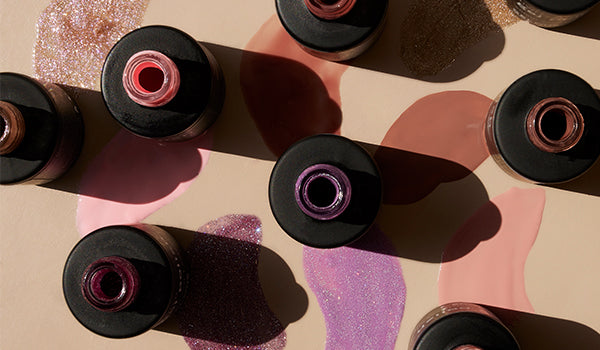
Gel Nail Polish colours needed
For this gel manicure to be pulled off flawlessly, we have outlined what you will need and why.
- Pink Rubber Base Coat: The delicate tone of the Pink Rubber Base Coat offers the beautiful pinky tinge under the sheer, pearlescent-white nails. Rubber Base Coat is also amazing for smoothing, strengthening and thickening flaky, brittle, thin or splitting nails. It has enhanced rubber-like qualities that allow your nails to flex without breaking.
- Pink Builder Gel: This reinforces the pink undertone of the manicure whilst adding thickness and strength. Builder Gel is harder and thicker than our other Gel Nail Polishes, so will decrease nail flexibility and bending, helping your Gel Nail Polish to last longer.
- Swan Lake Gel Nail Polish: This milky-white, semi-opaque shade creates the stunning semi-transparent, white effect on the nails.
- Snow Place Like Home Gel Nail Polish: This semi-opaque shimmer gives your mani slightly more coverage while adding that all-important white chrome-like effect.
- Top Coat: This locks your gel manicure in place and adds that extra shine to top off your flawless Hailey Bieber manicure.
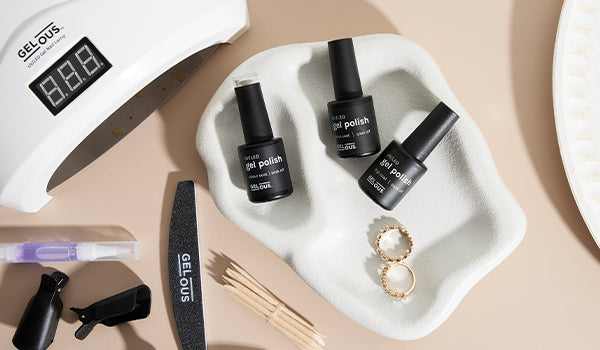
Prepping your nails
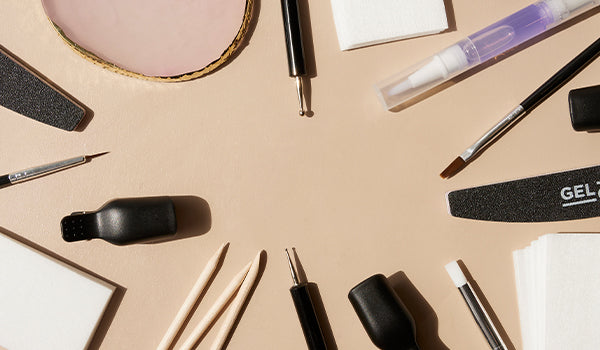
First, file your nails into an almond shape if they are long enough. To do this use a nail clipper to cut the sides of your nails, then file each side towards the middle using the fine side of the Gelous Nail File. Make sure you’re not filing too much on one side and that the sides are even. Following this, softly buff your nail bed with the fine side of the Gelous Nail File to create a matte surface for the first layer of Gel Nail Polish to adhere to. Make sure you buff as close to the cuticles and sides as possible to ensure a long-lasting finish and prevent any lifting. Wipe your nails down with a Lint Free Wipe soaked in Nail Polish Remover, then follow with our Nail Primer. This step is to dehydrate the nail bed and remove any natural oils and moisture your hands and cuticles create. It’s a vital step, as any residual dust or oils left behind on the nails can impede the way your Gel Nail Polish applies and lasts.
Applying your Gel Nail Polish
We're breaking your gel manicure down step-by-step. When applying all your coats, always cap the free edge of the nail and leave a small gap between the Gel Nail Polish and your cuticle. Aim to avoid getting any Gel Nail Polish on your skin or cuticle, however if you do, remove it with an Orangewood Cuticle Stick before curing. Your Base Coat and Colour Coat should remain a little sticky after curing so that when you apply the following layer it sticks to the layer below.
- Begin your gel manicure with a thin layer of Pink Rubber Base Coat, curing for 60 seconds under your UV/LED Gel Nail Lamp.
- Apply 1-2 coats of Pink Builder Gel over top to get that subtle pink tinged base, curing for 60 seconds after each coat. With Builder Gel, it is particularly important to apply thin coats, as this is a thick, hard polish that can easily flood your cuticles or look bulky.
- Following this, apply 1-2 coats of the milky white Swan Lake Gel Nail Polish, curing after each coat for 60 seconds.
- Apply your final colour coat - the shimmering Snow Place Like Home Gel Nail Polish. Paint 1-2 thin coats, curing after each coat for 60 seconds.
- Finally, apply our standard Top Coat or Clear Rubber Top Coat and cure for 60 seconds.
How to Create Glazed Donut Nails Using Chrome Powder

Chrome Powder & Gel Nail Polish colours needed
Let’s start with the products you’ll need and why.
- Clear Rubber Base Coat: Keeping your base clear for this look allows for a more authentic Glazed Donut-inspired finish. This lets your natural nail subtly peek through the gorgeous white-tinged glaze for a stunning result. Rubber Base Coat is also amazing for smoothing, strengthening and thickening flaky, brittle, thin or splitting nails, it has enhanced rubber-like qualities that allow your nails to flex without breaking.
- Clear Builder Gel: This further enhances the natural undertone of your nails while adding thickness and strength. Builder Gel is harder and thicker than our other Gel Nail Polishes, so will decrease nail flexibility and bending, helping your Gel Nail Polish to last longer.
- Swan Lake Gel Nail Polish: A classic milky-white, semi-opaque shade that creates the elegant semi-transparent, white effect on the nails.
- White Glaze Chrome Powder: This stunning Chrome Powder is essential for achieving that all-important glazed look. Its soft, luminous finish adds the perfect shine to your gel manicure to bring Hailey’s iconic look to life.
- Top Coat: This seals your gel manicure in place and adds that extra shine to top off your flawless Glazed Donut manicure.
Get the look for less with our Sugar Glaze Polish & Chrome Pack. Bundling together Swan Lake and White Glaze Chrome Powder with the option to add Clear Builder Gel, this delectable set promises a gorgeous glazed finish in a flash.
Prepping your nails
As outlined above, file your nails into an almond shape if they are long enough. To do this use a nail clipper to cut the sides of your nails, then file each side towards the middle using the fine side of the Gelous Nail File. Make sure you’re not filing too much on one side and that the sides are even. Following this, softly buff your nail bed with the fine side of the Gelous Nail File to create a matte surface for the first layer of Gel Nail Polish to adhere to. Make sure you buff as close to the cuticles and sides as possible to ensure a long-lasting finish and prevent any lifting. Wipe your nails down with a Lint Free Wipe soaked in Nail Polish Remover, then follow with our Nail Primer. This step is to dehydrate the nail bed and remove any natural oils and moisture your hands and cuticles create. It’s a vital step, as any residual dust or oils left behind on the nails can impede the way your Gel Nail Polish and Chrome Powder applies and lasts.
Applying your Chrome Powder & Gel Nail Polish
Now let's get down to the exciting part, the application! When applying all your coats, always cap the free edge of the nail and leave a small gap between the Gel Nail Polish and your cuticle. Aim to avoid getting any Gel Nail Polish on your skin or cuticle, however if you do, remove it with an Orangewood Cuticle Stick before curing. Your Base Coat and Colour Coat should remain a little sticky after curing so that when you apply the following layer it sticks to the layer below.
- Start your gel manicure with a thin layer of Clear Rubber Base Coat, curing for 60 seconds under your UV/LED Gel Nail Lamp.
- Apply 1-2 coats of Clear Builder Gel to create an understated base that allows your natural nail to shine through, curing for 60 seconds after each coat. With Builder Gel, it is particularly important to apply thin coats, as this is a thick, hard polish that can easily flood your cuticles or look bulky.
- Following this, apply 1 thin coat of the sweet, creamy-toned Swan Lake Gel Nail Polish and cure for 60 seconds.
- Apply Top Coat and cure for 60 seconds.
- Next, apply Nail Polish Remover to a Lint Free Wipe and fully wipe down the cured Top Coat.
- Rub White Glaze Chrome Powder onto the nail using an Application Sponge, moving in circular motions.
- Dust off excess Chrome Powder using the Gelous Dust Brush.
- Finish by applying Top Coat and curing for 60 seconds. Wipe any Chrome Powder off your skin using a Lint Free Wipe moistened with Nail Polish Remover.
LOOKING FOR A TUTORIAL?
To recreate our Glazed Donut gel nail art, watch our Youtube tutorial here.


